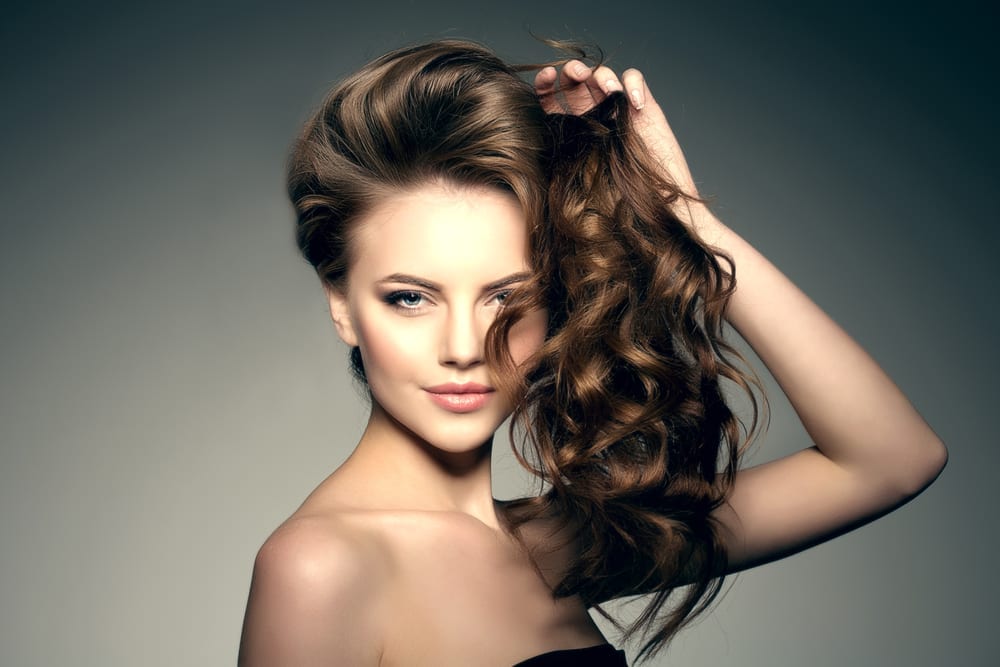
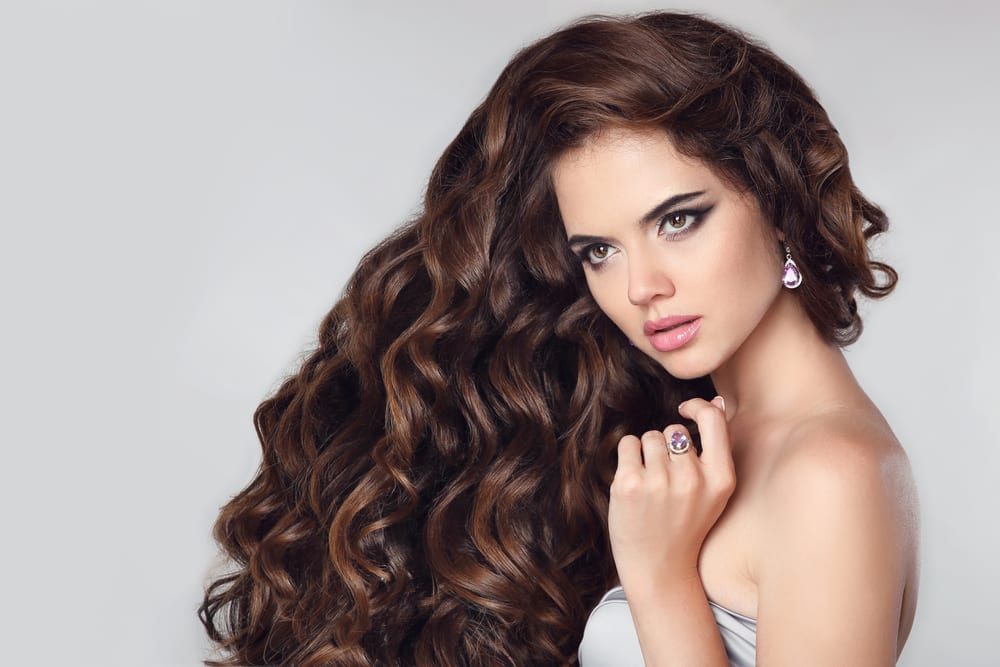
I think most of us can agree that the process of curling hair is tedious and either results in the curls falling out completely after five minutes or your hair being crunchier than potato chips even after watching dozens of YouTube tutorials.
But hopefully, you haven’t completely sworn off curling wands just yet because hairstylist Jasmine Santiago, has provided step-by-step instructions for beginners on how to curl your hair in the easiest way possible. Just follow the three simple steps, add a dash of patience and a sprinkle of practice and you’ll have luscious curls in no time.
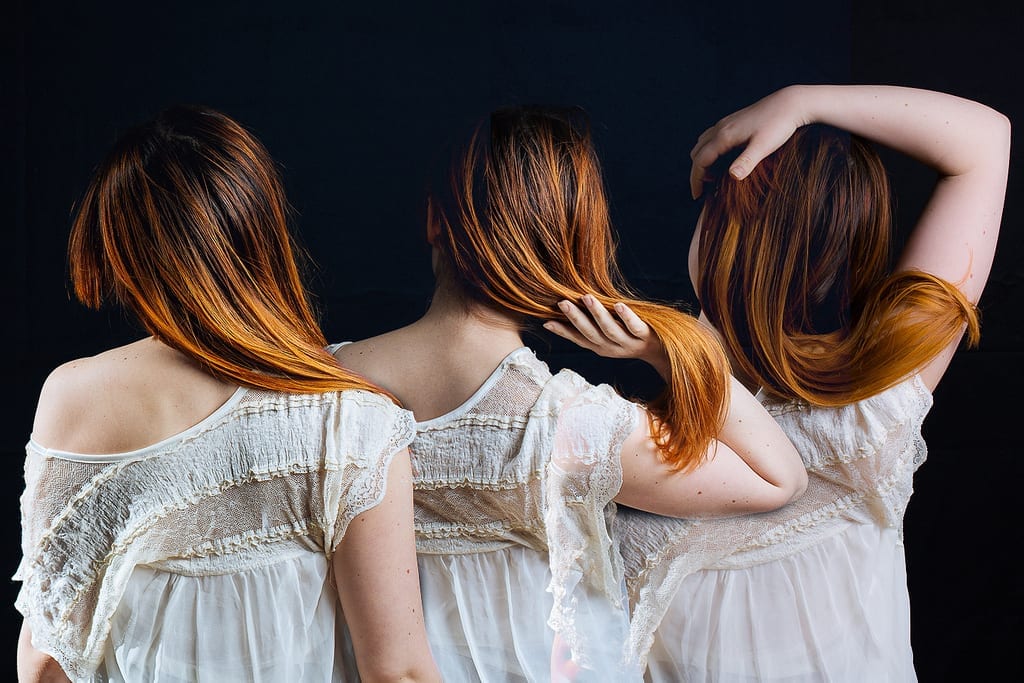
Step One: Curl Away From Your Face
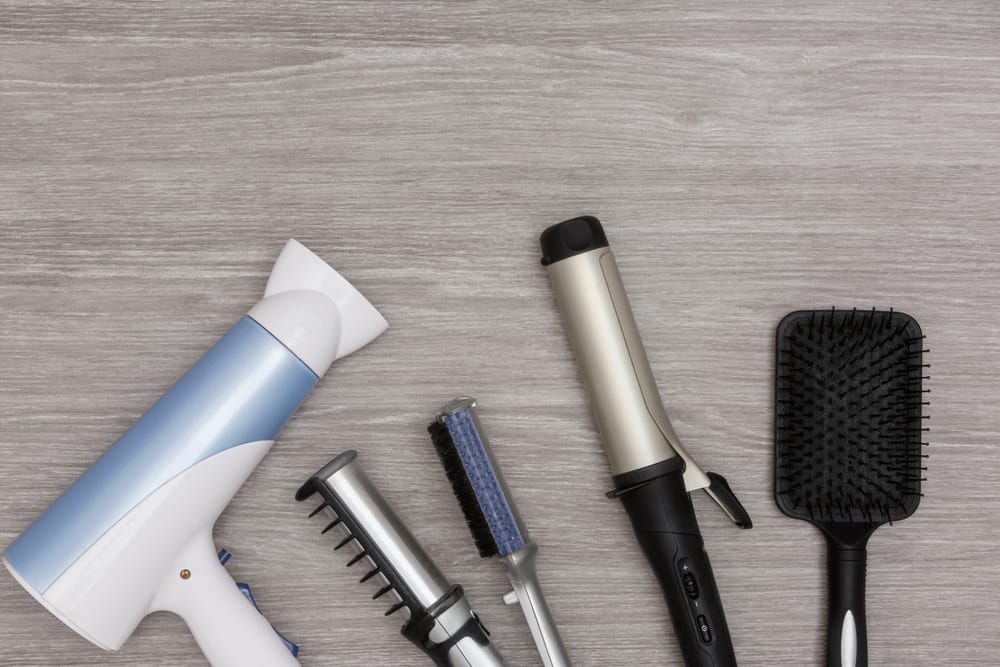
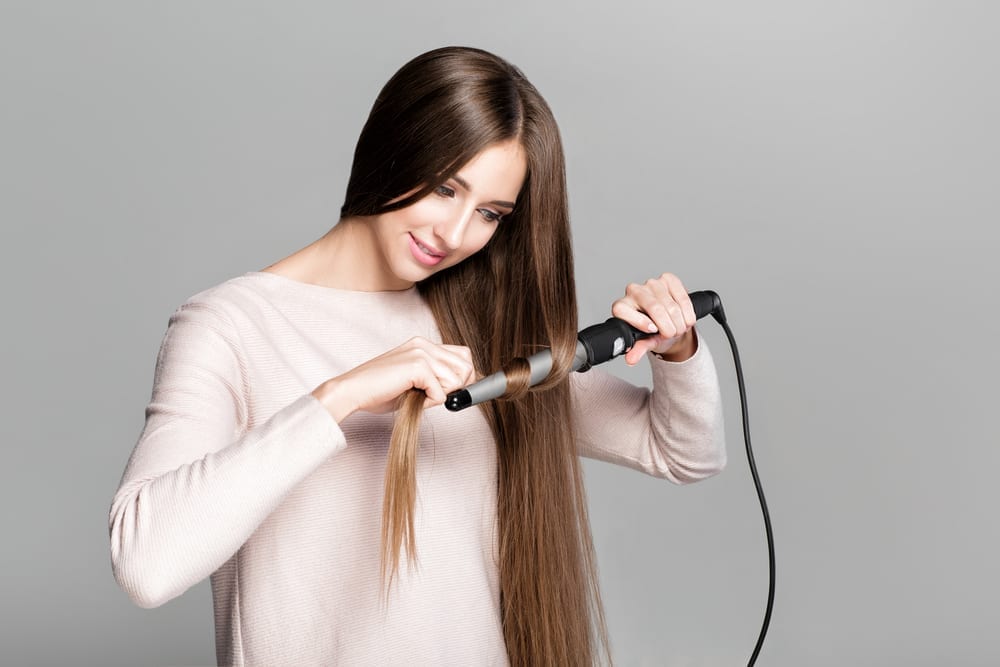
This first step is pretty self-explanatory but always curl the first pieces back away from your face. It may be easier to begin with the strands that frame your face, so grab approximately a two-inch section of hair in the front, near the hairline, and wind it around a one-inch curling iron, without using the clamp. Also, it may be helpful to invest in a heat-protecting glove so you don’t burn right through your hand. Hold the hair in the wand for five to ten seconds before releasing the hair, wrapping the curl around your finger to softly define it while the hair cools. Some effective curling wands to use are the Hot Tools Multi-Heat Control iron or the Remington Ceramic Pearl wand.
Step Two: Now Curl Towards Your Face
And by this, I mean alternate directions when you curl your hair. So if the first piece was curled away from your face, then the next one should be wrapped around the iron in the direction towards your face for a more natural-looking head of curls. After releasing the first section of hair, the next two-inch section should get twisted towards you. Hold for approximately five to ten seconds and then release, rewrapping the hair around your finger until the hair cools to maintain the soft look. Continue switching directions as you curl the rest of your hair until all the sections are complete.
Step Three: Texture!
In order to prevent the curls you just spent so long perfecting from falling limp around your head or frizzing up the second you step out the door, spray your hair in sections with a texturizing hairspray if you would like a soft, volumized look, or spritz with a lightweight finishing spray if you’re more into a shinier, defined appearance. After spraying, run your fingers through your hair for a more natural look. When it comes to hairspray, less is more. Don’t worry about your curls falling out especially if you allowed the hair to cool around your finger because your hair will already be used to the shape. Some highly-rated products to try out are Living Proof Full Dry Volume Blast, Garnier Fructis Dry Touch Texture Tease Spray or the Bumble and Bumble Dryspun Finish.
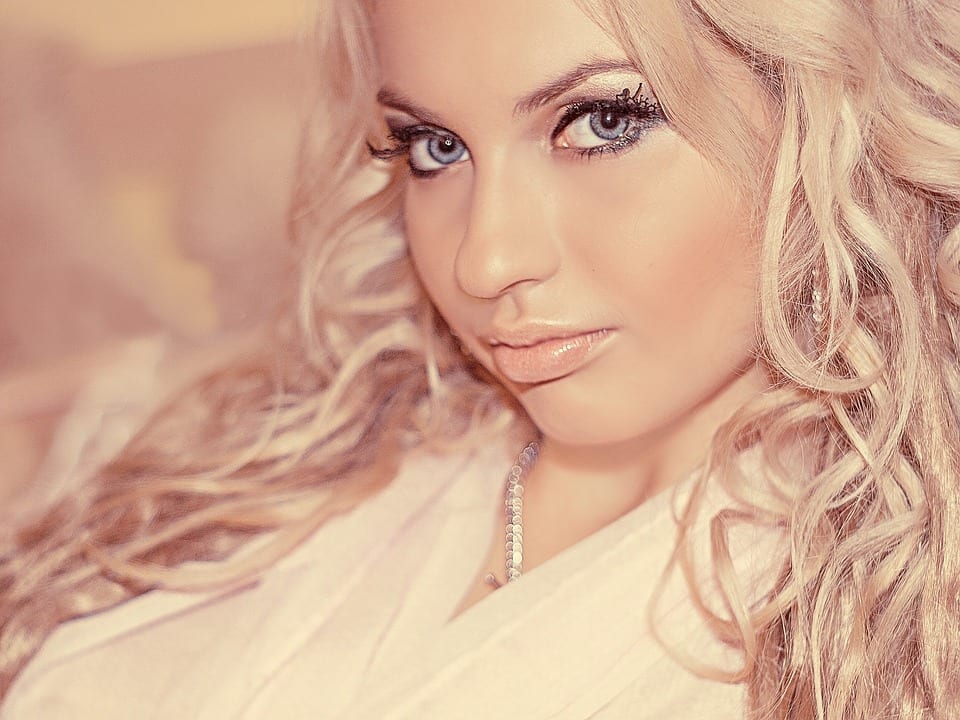
Vogue, Strike A Pose
Yeah, you’re definitely going to want to take some cool pictures of your new hair.